Friday, April 26, 2013

Corvette Stingray (National Corvette Museum)

The boys and I occasionally drop by the Corvette Cafe for lunch, and I made a point to stop by yesterday after hearing a new C7 was on display. It was perfect timing for our two-year-old who just decided to start loving Corvettes. For the past few days he's been spotting them on the road, yelling for them to come back when they drive by the house, and sleeping with his brother's yellow C6 toy.

This makes me happy because I've been [not-so-subtly] trying to steer him in this direction since he was born...

14 days old.

Little Red Car
Unfortunately, not my Little Red Car.

13 months.

Apparently it worked, but I didn't realize how bad he has it until we pulled up to the museum. It was the first day of the NCM Bash and there were hundreds of Corvettes on site. The line at the cafe was too long for us to get lunch and we didn't see the Stingray, but who cares? Mini Me didn't. There was no way to dampen his enthusiasm...


Has anyone ever said "Corvette" more times in two minutes? I don't reckon he could handle a real tour of the museum yet! I do think he's acting just like plenty of adults feel when they visit this place.

-----

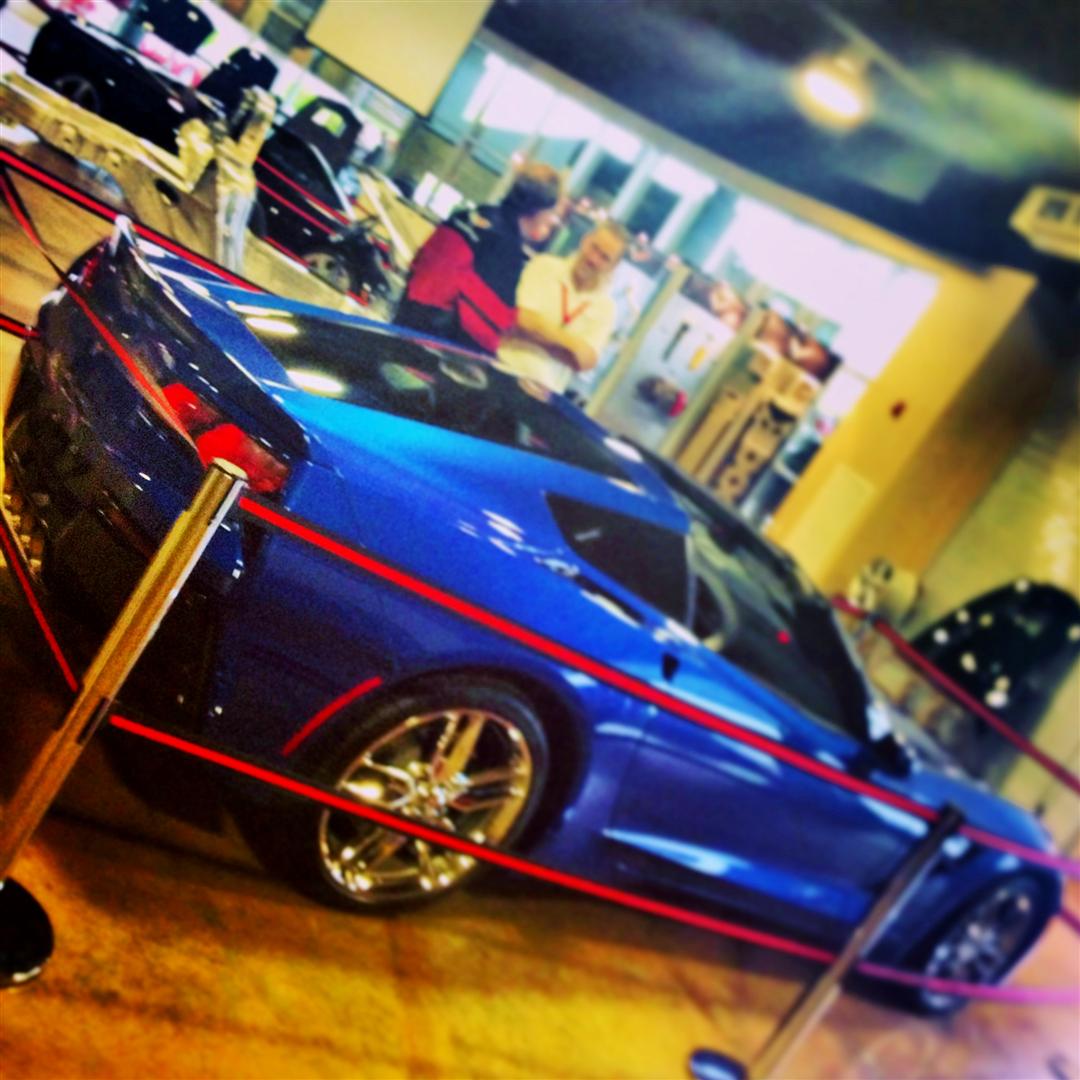
Anyway, I went back today (solo) to see the Stingray. Glad I did... she's beautiful!

National Corvette Museum.
The rainy day did not keep people away.


A Laguna Blue coupe and Night Race Blue convertible were on exhibit along with some neat component displays. In between the two cars was a bare aluminum chassis that seems incredibly light. The carbon fiber hood & roof pieces feel more like superbike fairings than car parts, especially when compared to their predecessors.

I think they used to call that a Targa Top, which was a step up from a T-top.
But I could be wrong.
Call it whatever... I love that look.

I could have stood here and stared at them all day if they'd let me. My favorite angle is that three-quarter view of controversial rear end. I suspect a lot of people who have criticized the design will like it better when they see it in person. Visually, the coupe is my favorite (the quarter windows and tail lights are fine by me) and this Laguna Blue seems just about perfect. I thought the convertible was black, so I look forward to seeing that Night Race Blue in the sunlight.

I didn't get any good pictures so check the NCM Facebook page for some great shots of these two beauties, and check out the video below that shows the cars leaving the museum. When you see the brake lights in action, the rear end design seems to make more sense -- the shape of the lights, the third brake light, the logo, and the overall angular theme just seem to work.

And, man, do they sound good! If you're in a hurry, skip to the second half of the video to hear the convertible and see a red coupe with black wheels on the truck.


UPDATE (5/2/13):  The 2013 Indy 500 Pace Car was announced:

I love this car.
I love this place.
I see my seats.

Wow. Pace car done right -- minimal graphics, well placed. For more info and pics, here's the press release.

I think it looks better than the current IndyCars do, so how about they just race the pace cars?  Corvette 500 sounds good to me! See you again in a few weeks, beautiful...


UPDATE (5/26/13):  She didn't see much action because there weren't many cautions in this, the fastest Indy 500 ever run. But she did look great out there...


Saturday, April 13, 2013

Home Grilling Tips


To be clear, these tips aren't coming from a professional chef or a competition cook. Just a guy who's done a lot of grilling over the last few years. Chatting with a trained chef or a BBQ champion for a minute makes it clear how much I don't know. I do know that cooking with fire is fun, and there are a ton of good recipes out there that are easy to follow if you know how to use your grill.

Cooking at home is not like running a restaurant. We aren't grilling dozens of steaks every evening. We aren't preparing side items, sauces, and salsas in bulk quantities. When we buy a few good pieces of meat or some fresh produce, we only have one shot at cooking it correctly. Hopefully some of these tips will help other folks learn from my mistakes.


I'm a Weber kettle guy so some of these thoughts are charcoal centric, but most apply to gas grills and Big Green Eggs just the same.


1)  Use a chimney starter to light your charcoal because lighter fluid is no good. All you need is two pieces of newspaper (or a few pieces of notebook paper) and a match to prevent your food from tasting like fuel. When you dump the coals out of the chimney, double check to make sure that no coals remain stuck in the bottom and make sure you have a safe place to set it down while it cools off.

I like to dump the coals pretty early -- definitely before the top coals are ashed over. When you dump them, the top coals will be on the bottom and they'll get going quickly. Doing it early gives you more time to oil your grill grate, gives your grate more time to warm up, and makes it easier to gauge the temp of your fire and determine when it's time to cook. If you dump the coals too late you might have a fire that doesn't last very long.


Chimney.

If grilling for one, a chimney starter makes a fine grill all by itself.


2)  Use hardwood lump charcoal instead of briquettes for better flavor. It burns hotter & faster, so you might prefer briquettes for longer cooks, but keep some lump charcoal on hand for those expensive steaks and pork chops.


Both types can usually be found in grocery or hardware stores.


3)  
Keep some wood chunks on hand to add smoke. Of course you'll need them when smoking meats for a long time, but a chunk of wood thrown on the flame can add a surprising amount of flavor to your quick hamburgers or chicken breasts, too. I like the big wood chunks because they last longer than the little wood chips, but I'll use whatever is on hand to add some smoke flavor. This is especially important when using a gas grill that doesn't benefit from the charcoal flavor -- just place some wood chips in a foil packet, poke some holes in the top, set it on the flame over in a corner, and keep the top covered as much as possible to help the smoke circulate.


I prefer hickory for almost everything, and along with mesquite it is easy to find.
I've noticed more cherry and apple wood at grocery/hardware stores during the last couple summers, also.


4)  Know your grill. Know the hot spots. Know how to set up for direct and indirect cooking. Charcoal grills, gas grills, and ceramic kamado-style cookers can all be used for cooking fast directly over high heat or cooking slow with indirect heat. 

Sometimes you'll want to use both methods on one meal (doing steaks or burgers with a reverse sear, for example), and even when cooking directly it's often a good idea to keep one side hotter than the other so you can move items to a cooler spot if necessary.


Direct heat -- this flat iron steak is cooking right above the hot coals.

Brats, spiral-cut hot dogs, shrimp, and veggie kabobs cooking over direct heat.
[It's not a good idea to pack your grill this full unless you are certain that your fire is perfect-- it's better to cook in smaller batches and have room to move food from a hot zone to a cooler zone when necessary.]

These steaks were seared over direct heat and then moved to a cooler spot to finish cooking.

Indirect heat -- this turkey cooked over a gravy pan on one side of the grill with coals & wood on the other side.
Also, iGrill.


Bacon Explosion smoked slowly with indirect heat.
This setup has the gravy pan in the center with coals & wood on both sides.


5)  Invest in good thermometers. There are only two ways to really ruin a grilled meal: cook at the wrong temperature or cook to the wrong temperature. Both are preventable. And those old-fashioned dial thermometers are not reliable. Go digital.


Some folks love to tell you that you don't need to use thermometers. If you cook hundreds of pounds of BBQ on the same pit week after week, I'm sure you don't. If you grill 50 steaks every night, I'm sure you don't. But I don't do those things. 

When cooking indirectly or smoking meats for a long time, an ambient temperature probe is priceless. If you only do one or two turkeys on your grill per year, you want to get it right. I thought I knew how to setup my grill for long cooks, and I was surprised to learn how much the weather can affect the grill temperature. I thought I could trust the thermometer(s) on my smoker, but I was surprised to learn how wrong they are. If you're trying to smoke ribs at 225 and your temperature is closer to 400, you probably won't be happy with the results. I'd rather let technology help me out than throw away good meat I cooked wrong. When cooking directly over the fire, an ambient probe isn't necessary -- just hold your hand above the fire to gauge the temp.

For long cooks I like the iGrill for a couple reasons: you can use an ambient probe and a meat probe at the same time, and the Bluetooth interface allows you to keep an eye on your temps from your phone when away from the grill.


iGrill with the ambient probe, meat probe, and iPad interface in the background.


iGrill iPhone interface.

Equally important is having a good instant-read meat thermometer. I don't always use one for burgers or steaks, but I never grill chicken without it. There's an especially fine line between undercooking (dangerous) and overcooking (dry & rubbery) poultry and pork. No reason to do either! Remember to pull your meat off the grill a few degrees before the desired temp as the temperature will continue to rise a bit while it's resting.

I like the Thermapen because it gives an accurate reading in just a few seconds and it is durable. It reads within one degree of my iGrill meat probe and it often comes in handy during kitchen cooking; not just on the grill. Although mine has been working fine for a couple years, I hear they have great customer service if you ever need a replacement.


Thermapen and Bacon Explosion.


6)  Have long-handled utensils and heat-proof gloves handy. You never know when you may need to get something hot off the grill in a hurry, and you'll definitely want the gloves to handle a chimney starter. If grilling with coals, wear shoes. Not flip-flops or sandals, but shoes! Dropping a coal and burning a hole in your deck isn't fun, and dropping a hot coal on your bare foot is less fun. Have a good grill brush and clean your grates while the grill is still hot -- it just takes a few seconds to scrap the crud off. You can use tongs and a folded paper towel to oil your grate before cooking (a spray bottle of oil is fun if you don't mind creating a good flare-up). Some people keep a spray bottle of water on hand to kill flare-ups while cooking, but you can usually accomplish the same thing by just closing the lid.


I like tongs and basting brushes with silicone tips for most uses, and that rounded grill brush is great on a kettle grill.

They are not pictured here, but it's a good idea to keep a big stack of disposable drip pans on hand. I most often use them when setting the grill up for indirect cooking and collecting drippings for sauce or gravy. Even if you aren't using the drippings, the pans can serve as a placeholder that keeps charcoal to the sides of your cooking area and creates a good indirect heat zone. They also come in handy for smoking/cooking certain foods that benefit from cooking in a pan, for transporting foods from the grill to the house, or for transporting foods from your grill to a big party down the road.

[Mom thinks I should mention that a fire extinguisher is a good thing to have on hand, also. She speaks from experience, having destroyed her gas grill and nearly catching her deck & house on fire with some pork ribs! It is a very good idea to have a fire extinguisher or a water hose nearby, and it's important to keep your grill away from the side of your house any other structure that could be damaged by high heat. I haven't had any major problems but I have burnt holes in my deck with dropped coals, so now I usually grill on a paver patio.]


7)  Try grilling on wood planks to add a more intense smoke flavor, especially for fruits and seafood. Soak the planks for at last an hour before using. For a lot of smoke, preheat the plank for a few minutes to get it going before adding the food. If it flares up too much, don't worry -- the flames will die down when you close the lid.


These are available in my grocery store year-round.


Planked asparagus & pears w/ cheeseburgers.

Planks are great for grilling meat, also, such as this prime rib.
That flare-up looks like bad news, but no problem once the lid was shut.


8)  Experiment. You can cook anything on your grill! If you'd normally cook it on a stove top, try doing it on the grill over direct heat (cast iron pans come in handy). If you'd normally cook it in the oven, try doing it on your grill with indirect heat and wood for smoke.


Grill breakfast!

Grill desert!

Grill chili!

Grill nachos!

Some experiments go better than others.
These poor peppers actually tasted a lot better than they looked.


9)  Grill vegetables and lemons. Many veggies are great with just olive oil, salt, and pepper. I think there are few things better than grilled bell peppers or grilled corn. I just recently learned how awesome grilled carrots are. Grilled onions & peppers make great burger, brat, or salad toppings. People who don't even like squash and zuchinni might like it sliced, seasoned, and grilled.


The most important thing to remember is to pull them off the grill before they get too soft. It's easy and tempting to overcook veggies, and some are trickier than others (tomatoes), but they're no good when overcooked and mushy.

Smoked potatoes are awesome -- toss them in olive oil and sprinkle with salt & pepper before smoking them along with your meats. They are a great companion to ribs that you might smoke for three-to-five hours, and some rib racks have spikes on the end that hold a potato just right.

A squeeze of lemon after being grilled cut-side-down and slightly caramelized adds something special to seafood or veggies, especially beans & asparagus.


If you've already got a hot grill, might as well throw some veggies on with the meat.


Once -- once -- we grilled only vegetables.

A grill basket makes it easier to work with some veggies and other small items like shrimp that can easily slip through the grill grates.


Grill lemons with seafood.


Or grill lemons and make lemonade.


10)  Use local fresh meats and produce as much as possible. Nobody knows their products better than the people who grow them, so ask them for recipe ideas. Some of the best meals we've grilled have used nothing but meat and veggies from the farmer's market, and some of the best recipe ideas have come from the farmers.


Grilled farmer's market meal.


SOME HELPFUL RESOURCES:
  • Steven Raichlen is the king of grilling books, and he also does a TV show and hosts a three-day BBQ University. My favorite books are How to Grill and BBQ USA. We recently attended BBQ U, and it was an incredible experience (story here).
  • Amazing Ribs is the my go-to source of online grilling information because it's easy to go straight to that site and search for the answers you need. I probably subconsciously repeated many of Meathead's thoughts above, because I've learned an awful lot from his website. His recipes and techniques have never let me down, and he explains things from a scientific perspective. If you have a grilling question and internet access, you'll probably find your answer there. If you don't, he answers questions posted in the comments section on a timely basis.
  • Rockin' Ronnie Shewchuk cooks BBQ in Canada, and his Planking Secrets book taught me all I know about grilling with wood planks (several of the photos above are recipes straight from that book).
  • Ted Reader is another Canadian chef and author. I don't have any of his books yet, but he posts incredible pictures and recipe ideas on his Facebook page. I'm definitely getting his new book, Gastro Grilling.


Sunday, April 7, 2013

Johnsonville Grillers


So, that there is two of the coolest things ever delivered to my house -- sneak peak boxes of the new Mushroom Swiss and Bacon Cheddar Johnsonville Grillers patties. Free food!

Johnsonville is one of my three favorite companies. One of the others is a favorite because of their customer service. The other other is on the list because of their product quality. Johnsonville is a favorite for both reasons, and also because they've sent me cool stuff in the past. Stuff like Brattender tongs...

Grill on I shall, Brattender.

Certified!
These tongs are used for brats, and brats only.

Knowing that the package was on the way, I thought it wise to try Johnsonville's currently-available Bratwurst patties in advance. I can't believe I haven't tried them before, but it's only because I didn't know where to find them and I'd never noticed them. They're in the frozen section of your grocery store, and if your store is like mine they'll be hidden away near the bags of frozen chicken wings and weird things like cooked frozen duck breasts.

Bratwurst patties, New Mexico Green Chili Cheeseburger-style.

Those brat burgers played a trick on my mind. Without the casing I expected them to dry out and shrink down quite a bit, but they did neither. They are BIG, they taste like a juicy bratwurst sausage, and yet they aren't a sausage because they're a burger. It doesn't make sense. Magic? I don't know. But I knew that the cheap skimpy hamburger buns wouldn't suffice when my package arrived. These patties like big buns.


Round I


For the first test, we just grilled up one of each along with some other things (pancetta-pesto chicken and peppers). The idea was to try them without condiments the first time.


Like the bratwurst patties, they are big.

My kind of sampler platter.

There were only three people on hand for this first tasting and one of us is a two-year-old, but we were all impressed. I knew my wife would prefer the Bacon Cheddar, and she did. I didn't expect our toddler to like it so much. I loved both -- each had plenty of the designated flavors mixed in with the pork. I truly enjoyed them bare on a bun.


Round II


For the second try we grilled up more of each (and some brats) for a bigger crowd, and we included condiments and toppings.

Grilled onions & peppers.

Happy grill.


Johnsonville Grillers:  Bacon Cheddar, Mushroom Swiss, and Bratwurst.

We had more folks on hand this time and the Bacon Cheddar was most requested (everybody loves bacon!).  Our 12-year-old ate two, which was more than anybody else and pretty impressive when you see how big they are. Before grilling, I weighed a couple for fun and they were both 5.4 ounces. So then we weighed the rest and they were all the same. 1/3 pounders indeed.

They were even better when dressed up a bit for this second round. Positive comments all around. Two folks thought they were homemade and asked me how I made them. I think I'm the only one who sampled all three, and being a brat guy I would go with the brat patties if I had to choose one. Fortunately, I don't, so I'll be grilling all three in the future.

These quality products are coming soon to a store near you. Try them!

Thanks a bunch, Johnsonville...