Saturday, February 18, 2012

Smoked Bell Pepper & Chicken Soup (Recipe)

My colors, my honor. My colors, my all.

Roasted bell peppers are great for a lot of reasons.  Smoked bell peppers are better!

This is a really simple soup with a natural peppery sweetness and an intriguing smoky finish. Once again, the smoke is the key. I've never had anything quite like it, and guests have always enjoyed it for the same reason. At least, that's what they tell me...

I stumbled across this recipe a few years ago, and with a few small mods it's become one of my favorite weekend meals. Preparing it for dinner is a fun way to spend an afternoon -- fun because we get to play with fire, we get to cut stuff up, and it's colorful. Although it takes several hours to prepare, the cook has plenty of downtime that can be used fixing other dishes, throwing football, watching road racing, etc...


INGREDIENTS:
  • Two Chicken Breasts, bone-in and skin-on
  • Meathead's Memphis Dust (or your favorite BBQ Rub, but you should really try this one!)
  • 8 Bell Peppers (I've always used 4 red, 2 orange, & 2 yellow)
  • 2 stalks Celery
  • 1 Onion
  • A few Thyme & Rosemary sprigs
  • 1 or 2 Bay Leaves
  • 6 cups Chicken Stock
  • 2 cups Heavy Cream
  • Butter

STEPS:
  • Sprinkle chicken breast with BBQ rub.
  • Smoke the chicken & peppers until the chicken is cooked to 160 degrees (about two hours @ about 225 degrees).
  • Let the peppers sweat in a large plastic bag or covered bowl while the chicken cools.
  • Remove the skin & seeds from the peppers, and remove the skin & bone from the chicken. 
  • Roughly chop the celery, onions, peppers, & chicken.
  • Refrigerate the chicken for later use.
  • Sautee onions & celery in a little butter until translucent, as they say.
  • Add chopped peppers and cook for a few more minutes.
  • Simmer Stage I:  Add chicken stock, skin (optional), & herbs. Simmer for about an hour.
  • Simmer Stage II:  Remove bay leaves, herb stems, & chicken skin. Add the cream and simmer for another 30 or 45 minutes.
  • Throw everything in a blender.
  • Add chicken to blended soup and serve.


The chicken has already been rubbed down.


Get the coals going and the wood smoking.


Assemble the smoker, and make sure it's smoking.


Arrange the peppers & chicken on the grate(s). The Weber Smokey Mountain Cooker has plenty of room to cook other items at the same time, so we've got three racks of baby back ribs on the bottom grate. That sure is pretty...

[BABY BACK TANGENT:  There are plenty of ways to cook ribs with fire. I'll surely do some rib posts in the future (and you can learn more than you want to know from Meathead @ Amazing Ribs). For today, the classic 225-for-5 method works great. We just remove the membrane from the back of each rack, rub them down good with the Memphis Meat Dust, and cook 'em with everything else -- the smoker will keep going long after our soup ingredients are done, so it would be a shame to waste that fuel, smoke, and grate space (we would use the Weber Kettle if doing soup only). Baby backs don't need a full five hours, so we'll start checking them after about three. When they're almost done, we'll apply some BBQ sauce and crank the smoker wide open or finish them on the grill. It couldn't be simpler, and the timing works great with this soup recipe.]


We're shooting for a steady 225, and that's easier to maintain on some days than others! With the WSM, it's usually pretty easy.


After about two hours the chicken should be cooked and the peppers should be sufficiently smoked. Remember to always check your chicken with a Thermapen to be sure.

BABY BACK BONUS:  the ribs are looking good down there, and smelling great!


Set the chicken aside to cool, and cover the peppers in a big bowl to allow them to sweat. After 15 or 20 minutes it should be easy to peel the skin off and discard the seeds. This can will be a juicy mess, so that same bowl comes in handy.

NOTE:  If you want to cook the soup another day, just refrigerate the chicken & peppers now.


Once the peppers are peeled and seeded, it's time to chop the veggies. Knife skills practice is fun!


Remove the chicken from the bone and chop it up, too. I reserve the skin for use in Simmering Stage I -- it has a great flavor by this point, and I'd hate to waste it.


Sautee the onions & celery before adding the peppers, and cook for just a few minutes more.


Simmering Stage I:  Add the chicken stock, skin, and herbs. Bring to a simmer and keep it going for an hour or so, until reduced by about a third.

You may want to choose a more appropriately-sized pot/pan than I did!


Simmering Stage II:  Remove the herb stalks, bay leaves, and chicken skin. Add the heavy cream and simmer until reduced to your desired consistency, probably about 45 minutes.

Then just throw everything in a blender for a minute or so. You can easily adjust the consistency now by adding chicken stock to thin or simmering longer to thicken.


Add the chopped chicken to the blended soup, and bingo! Ready to serve.


The obligatory motorcycle or Corvette pic that has nothing to do with nothing.
Corvette Z-06 at an undisclosed location.


Rib Coma!

BABY BACK TIME:  Ah, look what else is ready, and just in time! We finished them on the grill and they are a bit overcooked. I happen to like them that way, even if it won't win me any contests...


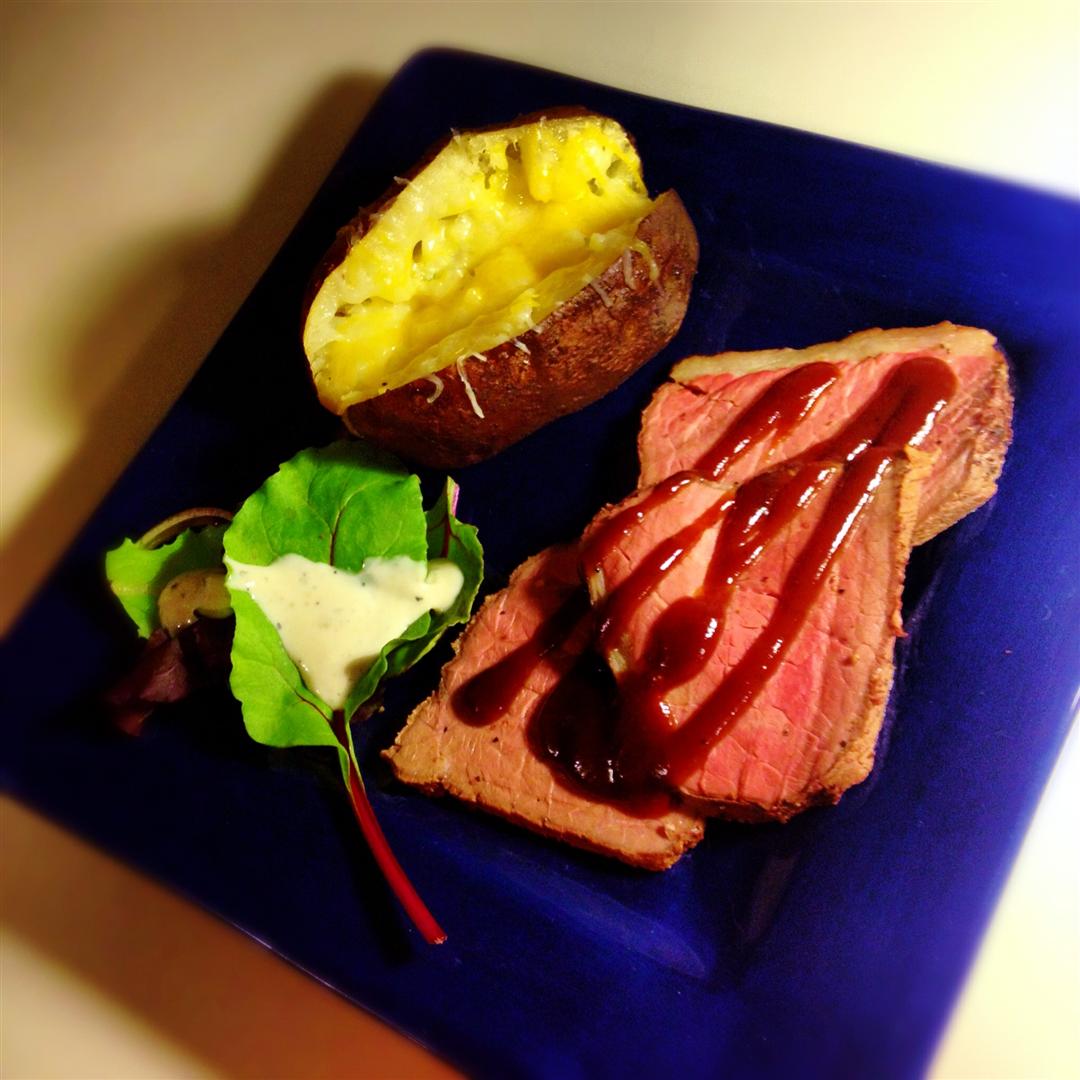
Enjoy! The soup is great with BBQ, such as seen here. Or it's a fine way to provide a smoky outdoor touch to an otherwise fire-free meal.


VARIATIONS:
  • For friends allergic to Lactose, I once replaced the heavy cream with more chicken stock & some white wine in Simmering Stage II, and thickened it up with 4oz smoked mozzarella. It was just as good.
  • I prefer this one sweet, but you can always add cayenne or crushed red pepper flakes for heat. 
  • Omit the chicken and use vegetable Stock to make it a meat-free dish.
  • Bourbon?


Instagram


Wednesday, February 15, 2012

Roast Beef (Recipe)


I may have inadvertently lied a couple times in the last recipe post. I actually have TWO recipes memorized, and this one is even simpler than the Nachos. In fact, I can't imagine anything simpler.

I first remember eating this at my Great Grandmother Snyder's home, and I think it's the first thing my Mom taught me how to cook. This is my definition of comfort food. The ladies would serve it with mashed potatoes & gravy, but I'm keeping it simple simple simple.


INGREDIENTS:
  • Bottom Round Roast
  • Lemon Pepper

STEPS:
  • Sprinkle the roast with Lemon Pepper.
  • Cook uncovered @ 350 for about 19 minutes per pound.


It's convenient and easy to throw a few potatoes in the oven along with the beef. This roast was about 4.5 pounds.


Just sprinkle the lemon pepper over the beef, and rub some olive oil on the potatoes before sprinkling them wtih salt & pepper.


Cook at 350 degrees for about 19 minutes per pound. The ladies always said to cook it fat side up, but sometimes I forget. It turns out fine either way.


Bingo!

Actually, this one was a little overcooked. I don't think the thermostat on my new oven is the most accurate thing in the world, and that's why it's a good idea to check the temperature of your roast when you start getting close to the finish time.


The obligatory motorcycle or Corvette pic that has nothing to do with nothing.
Honda CBR1000RR Repsol - Limited Edition under the Willow Tree.


I like to pull it at about 125 degrees, and this was closer to 135. As long as you still have some pink, it'll be OK. But if you cook all the red out, you might was well throw it away and start over.


Meat & Potatoes... and nothing else. Perfect! This is my favorite meal of all time for as long as I can remember (although it is better when the ladies make it with mashed potatoes & gravy).

I'm going to try doing the same roast on the grill and in the pizza oven soon. Fire makes everything better, right? Right! Updates to follow... maybe even with gravy.


PS:  This is a perfect meal to cook if you ever find yourself in a hotel room with a bit of a kitchen, as we did here in Florida one day last Fall. With one trip to the grocery you can buy exactly what you need -- it's cheap and you won't buy extra stuff you'll have to throw away on your way out, except maybe the leftover lemon pepper.


UPDATE:  Fire-Roasted Beef & Potatoes  

This was the first attempt at doing a beef roast in the WFO and it cooked a lot faster than I expected. It was overdone by about ten degrees, but the exterior formed a nice crunchy bark almost like a smoked Boston Butt. That exterior with a medium center would be killer, so I shall try again.


[Almost] Bingo!

I'm pretty sure the patio has never smelled as good as it did when this roast was cooking, and even though it was overcooked it made for some pretty good sandwiches with a Horseradish Blue Cheese Spread...


UPDATE II:  Smoked Roast Beef & Potatoes  

We threw a Bottom Round Roast and some Potatoes on the smoker while starting a Boston Butt that was going all night.  The pork took sixteen hours; the beef just three.  The iGrill made sure we pulled both at the right temps.


Bottom Round Roast, Boston Butt, and Potatoes on the WSM.


Smoked Roast Beef & Potato.

Bingo!


Instagram


Monday, February 13, 2012

Grilled BBQ Chicken Nachos (Recipe)

An old picture taken in better weather.

My blogger friend Robin Sue from Big Red Kitchen had a neat idea -- how about we start with a common meal suggestion and see how guys and gals might approach it differently? We can call it the He Said / She Said Project, if you will. The meal suggestion just happens to be Nachos and I like that.

I first found BRK when I saw Robin in a commercial for Finish Dishwasher Detergent that showed her taking pictures of a roast beef dish using a P&S camera. Since my wife often makes fun of me for doing exactly that, I had to pause the commercial and show it to her before visiting the website. The huge Recipe Box is awesome, largely because the recipes are quite simple. I could look at the pictures all day (I think her Big Red Kitchen is bigger than my living room!) and Robin Sue has a sense of humor that makes the recipes fun to follow. I haven't bought any mason jars yet, but I'm sure I will soon -- I'll buy some tonight if I can convince her to buy a smoker!

I know she loves Crossfit so she must be tough, and she used to have a Corvette so she's definitely cool. She's got some lucky kids -- check out the meals she packs for lunch. I'm guessing she might also be a Ninja, but she'd never admit it if she was.

And here's what She Said when it comes to preparing nachos: Pie Pan Nachos.

That looks like good fun for the whole family! We'll be trying it soon. I'm especially looking forward to making that Beer Queso...

So, one of my heroes, Meathead from AmazingRibs, says that "once you reach a certain age, you should have a handful of signature recipes that you can proudly call your own." I'm not quite there yet. I have exactly one two that I can do without notes, and it's this one this is one [EDIT: I forgot about Great Grandmother's Roast Beef]. It's the one our guests usually request on a return visit, and it's super simple. As per usual, it involves cooking with fire.

The beauty of this dish is the simplicity, and the subtle balance between the sweet tangy BBQ sauce and the smoke flavor absorbed by the chips, cheese, and beans. Please understand that the smoke is the star of the show, so there are no expensive ingredients or time-intensive processes. Various toppings can be added when the nachos are served, but we've found that these few ingredients work best on the grill and in the smoke. In fact, you might be surprised at how quickly these ingredients soak up the flavor.


INGREDIENTS:
  • Boneless Skinless Chicken Breasts
  • Tortilla Chips
  • Black Beans
  • Cheese
  • Sliced Jalapenos
  • BBQ Sauce
  • Chili Seasoning (I suggest Zillions)
  • Olive Oil (or any oil, really)

STEPS:
  • Drown Chicken Breasts in Olive Oil and Chili Seasoning.
  • Grill Chicken to 160 degrees.
  • Chop or shred Chicken and then toss in BBQ Sauce.
  • Arrange Tortilla Chips in single layer.
  • Top chips with Beans & Cheese.
  • Add layer of Chicken and another layer of Cheese.
  • Top with Jalapeno slices.
  • Smoke Nacho arrangement and serve.


We've settled on a specific list of easily sourced ingredients:
  • Snyder's White Corn Tortillas. They've been harder to find lately, but Tostitos work (even the Scoops).
  • Bush's Black Beans.
  • Sargento's 4 Cheese Mexican blend (it's fine to grate your own cheese, but remember it's getting smoked so it's probably not worth the effort).
  • Mezzetta Deli-Sliced Jalapeno Peppers (Hot or Tamed).
  • Sweet Baby Ray's Barbecue Sauce.
  • Zillions Chili Seasoning is my favorite, but Chili Powder will work fine by itself if you don't use too much. (Of course, you can mix up your own rub by adding some Salt/Pepper, Garlic Powder, Onion Powder, Ground Cumin, etc...)


Fire up the charcoal. This recipe works perfect with one full chimney -- we grill the chicken while the charcoal is hot, and smoke the nachos after it has cooled down. The Weber Kettle is perfect for this meal because we're grilling first and smoking later. I don't know much about gas grills, but this recipe won't be the same unless you can add wood chunks or a smoke pouch. The smoke is the key!


Drown the chicken breasts with olive oil & the chili seasoning. The excessive oil will cause an initial flare-up that helps seal in that grilled flavor.

[NOTE:  Even when we're not making nachos, this is my favorite way to cook chicken. Grill up some breasts or tenderloins this way over the weekend, and you can use them over the next few days for quick lunches/snacks that still have that great grilled flavor -- sandwiches, salads, wraps, etc...]


Said flare-up. Position the charcoal on one side of the grill in order to cook the chicken over high heat. We'll prepare the nachos as the grill cools down, and they'll be placed on the other side to smoke.


Cook the chicken to 160 degrees, let it sit for five or ten minutes, and then chop it or shred it.


Coat the chopped/shredded chicken with the BBQ sauce, and now it's time to put the nachos together.


You can prepare the nachos on a couple sheets of aluminum foil or in a disposable foil pan, but a grill tray such as this one with a detachable handle is preferrable. It's easier to work with and the perforated bottom allows the chips to absorb more smoke. This is certainly the only thing I've ever bought from Avon, and I love it.


Spend a couple minutes carefully arranging the tortilla chips to cover the surface area. The nachos are easier to slide off the tray if you don't allow any cheese to fall through the cracks.


Add a little cheese and the beans. I like to think that little bit of cheese helps seal everything together, but it probably doesn't matter.


Top the beans with a thick layer of cheese. At this point I've used up one full bag and it looks like a lot, but it melts!


Arrange the chicken on top.


Top with more cheese and then the jalapenos.


Add some hickory chunks or chips to the coals, position the nachos on the other side of the grill, and close the top. Rotate every two or three minutes until the cheese is melted and the tortilla chips are beginning to brown -- about 8-10 minutes total. If the grill is still too hot, the chips might burn before the cheese melts, so keep an eye on it. You can always remove the tray and wait for the grill to cool down some more, if necessary. And don't be afraid to add more wood than you normally would -- the nachos won't be in the smoke for long, and you'll be opening the top frequently, so the more the better.


Grilled BBQ Chicken Nachos.

Bingo!


The obligatory motorcycle or Corvette pic that has nothing to do with nothing.
Buell Firebolt @ the National Corvette Museum.


A big pizza cutter makes it easy to cut the nachos up into individual portions.


It's nice to make some pico, guac, & salsa available...


...but I prefer to eat mine alone, or maybe with a little Taco Bell Hot Sauce. Just kidding! Kinda.


I smoked a smaller portion for my future assistant using Tostitos Scoops and the shredded chicken, and he ate every bite. OK, fine, he didn't. But Momma did!


PS:  These same ingredients make a mean pizza if you substitute pizza dough for tortilla chips and BBQ sauce for tomatoes. Also, use more Mozzarella or Provolone than Mexican cheese blend (but do use some MC blend). To add a smoke flavor you can smoke the beans and the chopped/shredded chicken for a few minutes before assembling the Pizza, or cheat by using Smoked Mozz.


I say the He Said / She Said Project was fun! I know we had a good time at my house, and I look forward to trying Robin Sue's recipe(s) soon. I hope we do this again... and in the meantime, make sure you visit the Big Red Kitchen when you're looking for some fun meal ideas.


UPDATE:  Grilled BBQ Chicken Stuffed Peppers  

I was already doing some Stuffed Bell Peppers on the grill, so I thought I'd try one with the above ingredients. If they translate to a good pizza, they might as well translate to a good pepper!

I roughly chopped the jalapenos this time and added some diced tomatoes, onions, and cilantro. I mixed all that up with the shredded chicken, black beans, dheese, and a couple crushed tortilla chips. Resist the urge to add more BBQ Sauce at this point -- what's already on the chicken is adequate and you can always add more later. After stuffing the mixture in the pepper, I topped with more cheese and cooked it over indirect heat using the same setup as above, but with more heat and less smoke. They were done in about 30 minutes.


Bingo!


UPDATE II:  BRK's Pie Plate Nachos  

We finally got around to trying the She Said recipes mentioned above -- Big Red Kitchen's Pie Pan Nachos. I was too lazy to build the chili (which is unfortunate because the recipe looks really good), so we just made the Sweet Hot Jalapenos & the Beer Queso and we added these items to our usual Taco Night ingredients. That makes this our first Nacho/Taco Night.

The jalapenos are amazing. I knew BRK would eventually convince me to buy some mason jars, and this was the recipe that finally did it. It's a real simple process -- the hard part is looking at that jar for three or four days before cracking it open and sampling the goods.

The Beer Queso is also quite simple, and awesome. We've actually made it a few times now, mostly because my wife makes me. It's a great dip by itself with tortilla chips, and it's even better when you add some meat and a Sweet Hot Jalapeno or two. I've tried it with fresh-grated cheese and with the pre-grated packaged cheese. Robin Sue is right -- the pre-grated stuff doesn't work as well. But when pressed for time, I'd rather use it than not make the Beer Queso at all!

Sweet Hot Jalapenos.
These things are so good. They start off sweet and finish hot, and they pack a real garlic punch. I've been putting them on everything lately and they've been making everything better.


Nacho/Taco Night.
Beer Queso on the left...


Nachos & Tacos.
Is that your Taco? No, it's Nacho Taco -- it's MY Taco!
Bingo!

Beer Queso everywhere!

I'm pretty sure that's healthy because I see a bunch of vegetables.


Instagram